Hey everyone,
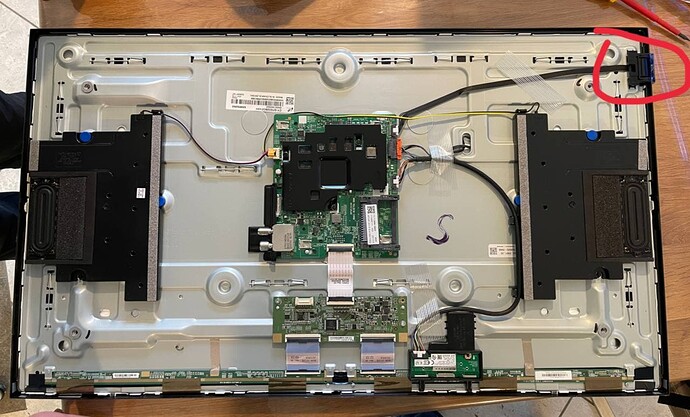
the OP images are actually from one of our installations. For this particular setup we had everything custom made so no cables would be visible etc - and the setup would just work with these screens (unless spending a lot more money to re-do everything). So what does one do? Open up the devices…
Totally do this at your own risk! You will void the warranty.
Is it silly you have to do this hardware workaround for something that probably takes less than an hour to implement in first place? Absolutely. So lets get to it…
Step 0: Power on in Horizontal direction!
The screen will actually remember the last position and if it doesn’t have the sensor available, it will stay in the last position. So if you want to use it vertically full-screen, you actually must make sure it is in Horizontal direction. Turn it on, off and back on and off again to make sure it saved its settings.
Step 1: Open Case
This is fairly easy. Remove all of the decorative side covers, turn te device around and remove the mounting screws. There are NO hidden screws. Simply force the case open - in our case of the 4 screens only 1 screen had one small plastic nose broken off - didn’t cause any problems when closing again…
Step 2: Locate the IR-Board
Just locate the “small” board that sticks out on the side. Carefully remove the plastic assembly form the metal case - DO NOT STICK A SCREW DRIVER INTO THE HOLES while removing! You could damage the panel!
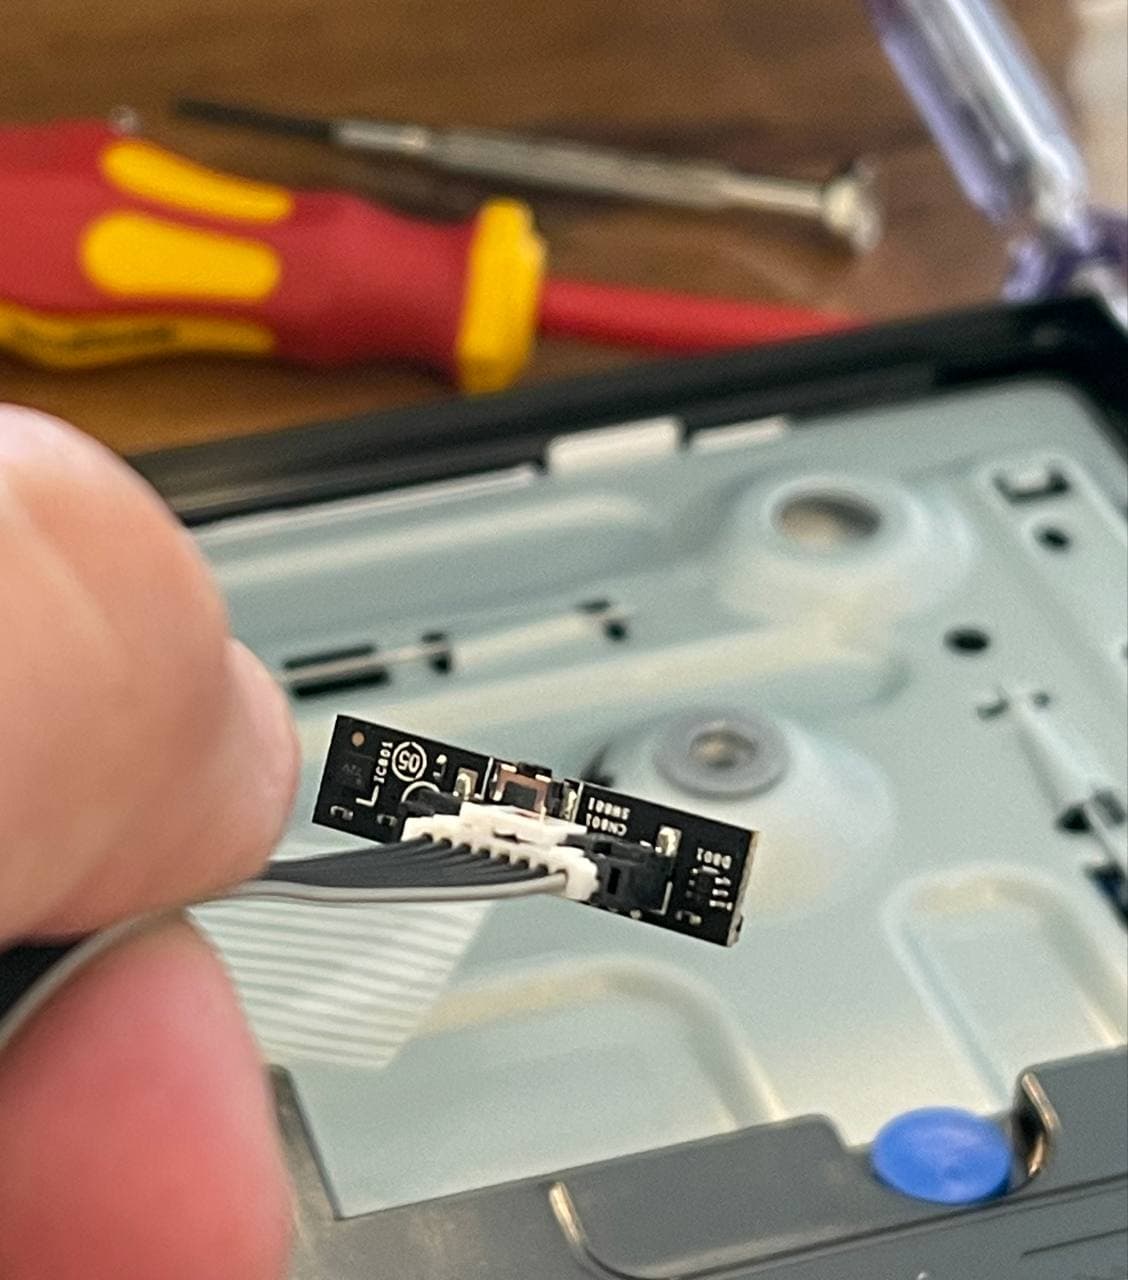
Step 3: Unplug board…
It is some kind of JST connector that has a small hook so it doesn’t come lose. Just press small locking mechanism and the JST should come loose.
Step 4: Done! Tape down the cable…
We taped down the cable so it sticks out on the top slightly in case we ever need to use the IR remote… This is optional, but it made sense to us.
And here is the finished, fully working setup…
If you ever want to see this setup in real-life, visit Weingut Loos in Franconia


