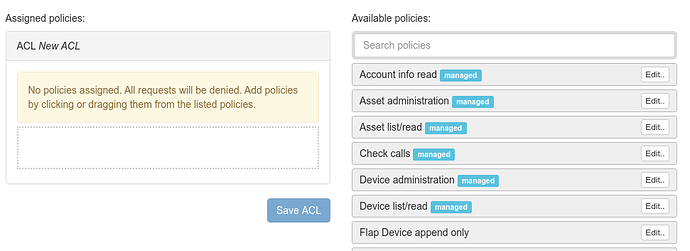
All access to your account is controlled by “access control lists” (ACL). If you want to create a new restricted access, the first step would be to create a new one. By default it’s empty and thus doesn’t allow any access at all:
This is where policies become important: They define the allowed actions. There are a bunch of managed policies for some use cases, but you can also create your own, if you want to customize. The best way to create the minimal set of permissions required is to use a whitelist approach: Only specify actions you intend to allow. As an example: Drap/Drop or click on the Device list/read policy to add it to your newly created ACL, then click Save ACL.
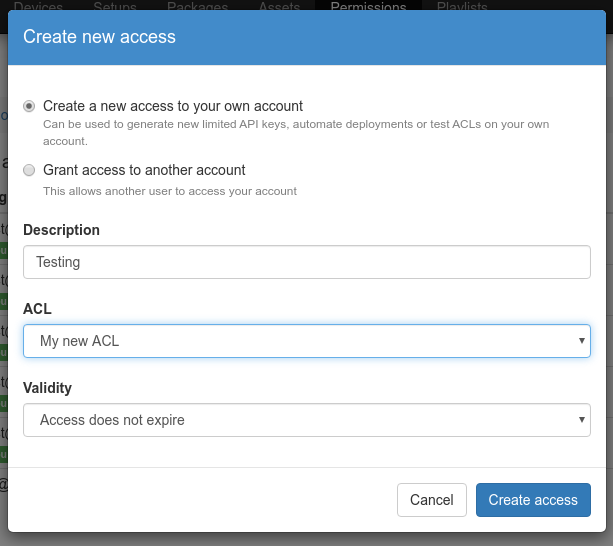
If you then a user to your account, he/she will only be able to use the Devices tab to inspect what the devices are doing. All other access to your account will be denied. If you want to test an ACL, the easiest way it to create a new self-access by clicking on Create new access… on the access to account page: Give the new access a name and aelect your new ACL, the click Create access.

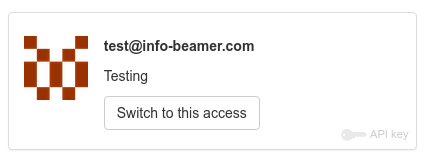
Click on the gray “Switch accounts” area in the top right corner (or the “Switch accounts” item in the top right menu). Then click on the Switch to this access button of your newly created access:

You will be redirected to the dashboard, but now you don’t have full access but one that’s restricted according to the ACL you created. This allows you to test an ACL before you assign it to an invited user.
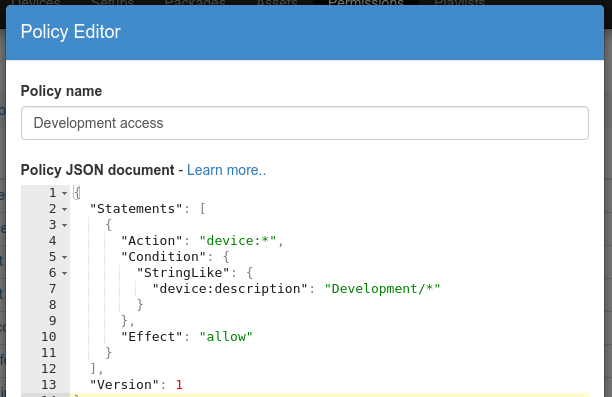
Let’s say you want to allow full access to certain devices (like those with a description starting with Development/*). First switch back to your full access by clicking on the top right corner “Switch access” button and select the “Full access to your account” access. Then create a new policy with the following content:
{
  "Statements": [
    {
      "Action": "device:*",
      "Condition": {
        "StringLike": {
          "device:description": "Development/*"
        }
      },
      "Effect": "allow"
    }
  ],
  "Version": 1
}
and give the policy a name, then click on Save:

Finally go to your ACL and drag/drop or click on the new policy to add it to your ACL and again click on Save. The "Condition" in the policy describes when new policy is active. In this case, it is only active for devices with a description starting with "Development/". The "Action" then specifies what is allowed in that case. In this example the user of that ACL can fully edit devices (so rename, delete or reboot them for example).
That’s a general introduction into show to use the permission system. It’s not possible unfortunately to restrict what can be changed within a single setup. So you cannot only allow access to certain options within a setup for example. But if you have an ad.jpg image assigned to a setup, you can use the permission system to allow a user to only replace exactly that single file.
Let me know if that all was a bit helpful and I can always explain more if needed.


