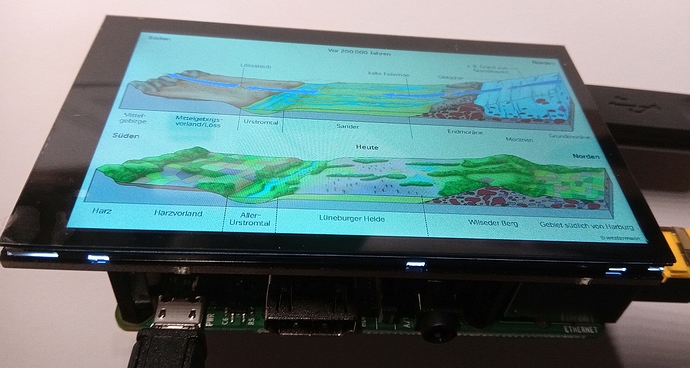
Is there a chance to interface a Pimoroni Hyperpixel4 (4 Inch) TFT Display with 800x480 pixels. The display comes with an install package. I would not need the touch support for this particular application. I have tried to configure the display using the new feautures in OS10 but in vain, the particular driver is probably needed? The nice Thing About this display is ist rel. high Resolution, which I need.
b.t.w. the application is a small display in our museum which is viewed through a peephole in our display walls. Today small static 35mm slides are viewed through a lens…dynamic content will be much more attractive.
Judging by https://github.com/pimoroni/hyperpixel4/blob/master/install.sh, the installation (without touch) is basically three steps, two of which are a bit difficult to do right now:
First in /config/userconfig.txt, you’ll need these lines:
dtoverlay=hyperpixel4
overscan_left=0
overscan_right=0
overscan_top=0
overscan_bottom=0
framebuffer_width=800
framebuffer_height=480
enable_dpi_lcd=1
display_default_lcd=1
dpi_group=2
dpi_mode=87
dpi_output_format=0x7f216
display_rotate=3
hdmi_timings=480 0 10 16 59 800 0 15 113 15 0 0 0 60 0 32000000 6
Then this device tree overlay needs to be in /overlays. Right now this step is lost when the OS gets updated.
Finally it seems some initialization is indeed required. They provide a statically linked binary for that here, but right now there’s no proper way to have that run at boot somehow.
I’ll have to think about how to approach this.
Wow - fast and detailed, amazing! Many thanks for already looking into it. The unit is on-line right now, in case you want me to try s.th.
I just ordered my own display and will play with it once it arrives. I’ll keep this post updated.
terrific! You will like it, it is not the cheapest on the market, but it appears well made and Pimoroni have quite a good reputation and decent support.
I hope that it opens new opportunities for other InfoBeamer users.
Got it running:

Here’s what you have to do:
-
Update your OS to the testing release. This won’t be required in the future, but for now the ability to run a custom program after bootup isn’t available in
stableyet. -
Fetch this hyperpixel zip
-
Extract the zip file onto the SD card, so that userconfig.txt ends up in
/configon the SD -
Start he Pi
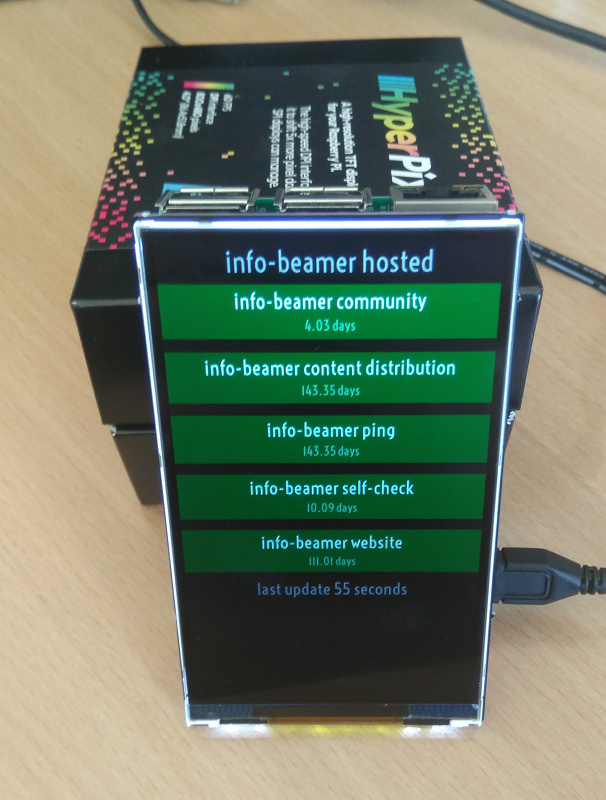
The settings from the HyperPixel repository by default rotate the screen, so it’s horizontal with 800x480 resolution. As this rotation puts extra load on the GPU, it’s a bit slower than it could be. You can avoid this rotation (and get 480x800, like you see in the picture above) if you take a look at /config/userconfig.txt and comment out the three marked lines.
Followed the steps and got it done in a few minutes including new setup and test - awesome, support at its best
Nice. Thanks for testing. Have fun!
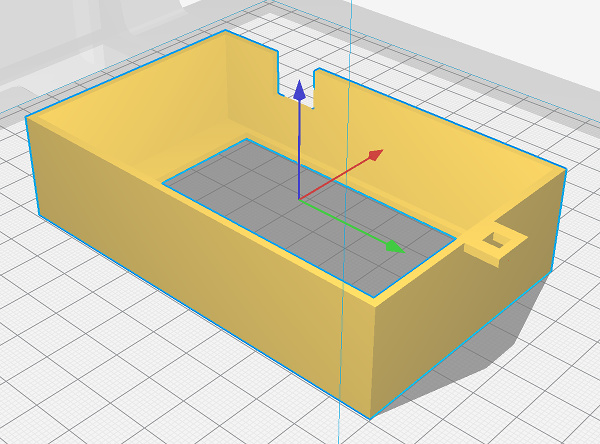
I’ve now “designed” a case and I’m about to 3D print it this week. Despite never having done anything with 3D printing, it all was surprisingly easy so far. I’ll share the source for the case if it works.

If you ever had a chance to complete the design, I would very much appreciate to get the 3-D design source. After quite a long a time we started continuing this project. As a reminder we plan to use the small displays to replace slide viewers which are mounted in display walls at our museum, which are viewed through small peep holes. It will give us the ability to replace static content with dynamic stuff like small video clips. Of course the displays will be driven by Infobeamer.
I just uploaded the version from 2019. As I don’t have a 3D printer myself I couldn’t easily test and improve the design, so that’s still the design from the only version I got printed. It’s far from perfect:
- The display side’s opening it too big and white light from the Hyperpixel leaks through the gap.
- It’s all quite tight
- There’s only space to connect a power cable.
- It might only work for the Pi3.
The ZIP includes the .CSG file source in case you want to improve it. Though you might have more luck searching for alternatives online.
Many thanks, that will get me started more comfortably as I am a novice in 3-D printing and just got my little Ender. I will let you know how it worked out.
