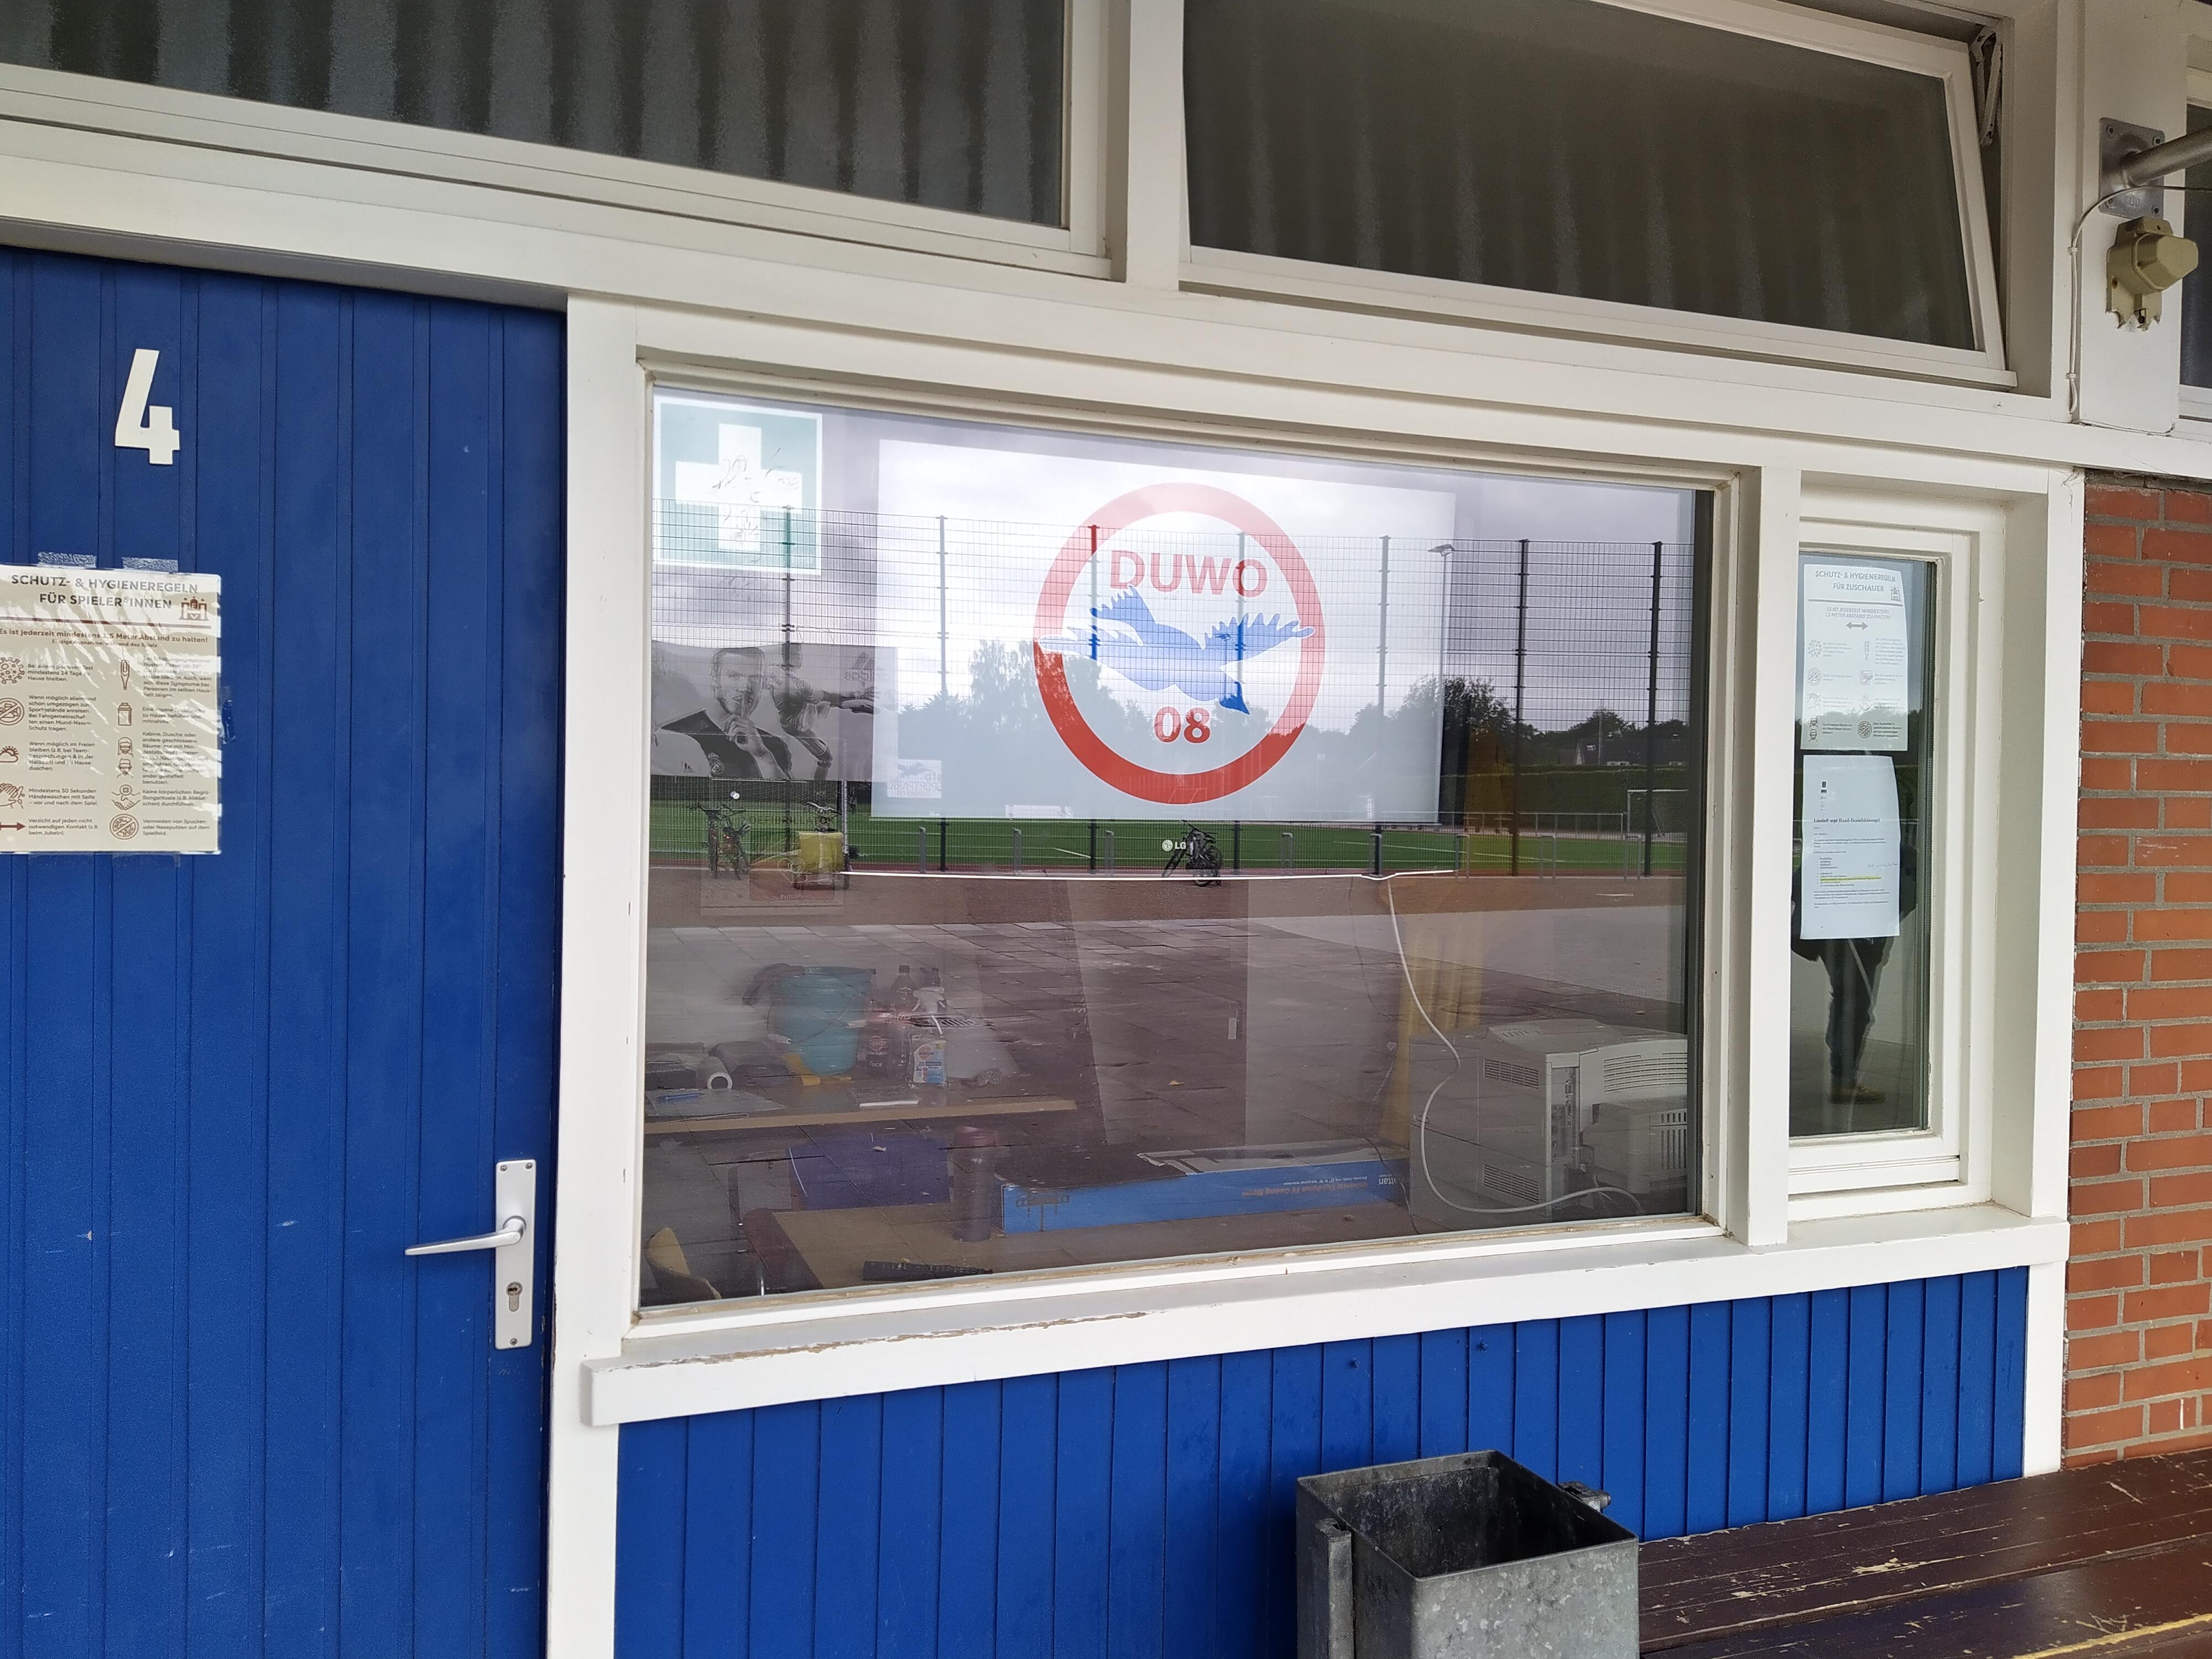
Hi, I installed in my sport club TSV DUWO 08 an infoscreen next to the locker rooms.
The scheduled player is working fine with Raspberry Pi Zero W.
Now I’m trying out the power saver plugin.
I hope I can realize in the future some scheduled pages based on data from the central German football portal fussball.de. I want to show current results and create locker room plans.
I have no clue yet what is the best way.
Big thank you to the developers for the really cool project!
cool project, I started a project “ClubTV”, at the moment my idea is to use Browser-Plugin to show results from fussball.de and other sources, not perfect, but a start.
After month we are really happy. Scheduled Player is working fine with a ticker. Maintenance is really easy from home and power saver plugin is great.
I have started to scrape fussball.de with Python to generate a JSON Data Object. Next step will be a plugin for the schedule player and in the end to use the JSON data. But no clue how to start with a simple plugin. Any ideas?
You can have a look at the scroller folder within the schedule player. Say you wanted to create a “scroller” as its own plugin:
Create a new empty project directory for a new info-beamer package. For example my-scroller.
Copy all the files from the scroller directory of the scheduled player into this new package directory.
Add a package.json file. Add a package name and other data required. See the documentation for what’s needed.
Add a package.png. This is a small png icon file (64x64 pixel) that will show up in the dashboard when using the package. As a start, you can copy the existing node.png file.
Create an empty node.lua file. As your plugin isn’t running as the main content on the screen and instead is called from the schedule player, this file isn’t really needed, so just leave it empty.
What happens next depends on whether or not you know how to use the git version control system. If you do, you can use the git based mechanism to push the source code of your package directory to info-beamer.
If you’ve never used git, it’s probably easier to zip all your package files into a single zip file (make sure you directly zip all files, not the my-scroller folder. So the files must be within the top level of the zip archive). Upload this zip file to a location where it’s publicly accessible (aka “you can download it if you know the url”). Then import your new package in info-beamer like this.
At that point you should have your own package in the list of packages in your account. All that you have to do now is to open your existing schedule player based setup. In the left column, click the Add… button and select your new package. Use the name my-scroller for example. This will add your package to your scheduler player based setup. You can now configure the scroller options as well as add your own version of the scroller to any of the pages you configure within the setup.
If you want to modify what the package does (after all, who needs another scroller), open the tile.lua file. This file gets loaded when playback starts. You can remove most of what you see, as it’s scroller specific. What remains is:
local api, CHILDS, CONTENTS = ...
local M = {}

function M.updated_config_json(config)
   -- load and react configuration changes made in the dashboard
end

function M.task(starts, ends, config, x1, y1, x2, y2)
    for now in api.frame_between(starts, ends) do
        -- draw your content on the scroll between the given coordinates
    end
end

return M
Let me know if that helps and of course if you have any questions.